

aomi-build CLI also has a web interface. This
includes connect, deploy, activate, and status. The dashboard also provides
deployment history, environment secrets, model provider keys, bot
integrations, transactions, usage, logs, and metrics.
aomi-build connect
shows up in the Projects list, and an App activated from the browser answers
aomi-build deploy status.The words the platform uses
Find your way around
Use Projects for day-to-day work on a connected repository. Build starts from an idea or a template. Operate groups deployment history, transactions, observability, usage, and logs. Account groups provider keys, integrations, and settings. Overview summarizes your Projects, live deployments, credits, and tokens. A connected Project does not by itself mean you have a live deployment: the example below has two Projects and zero live deployments.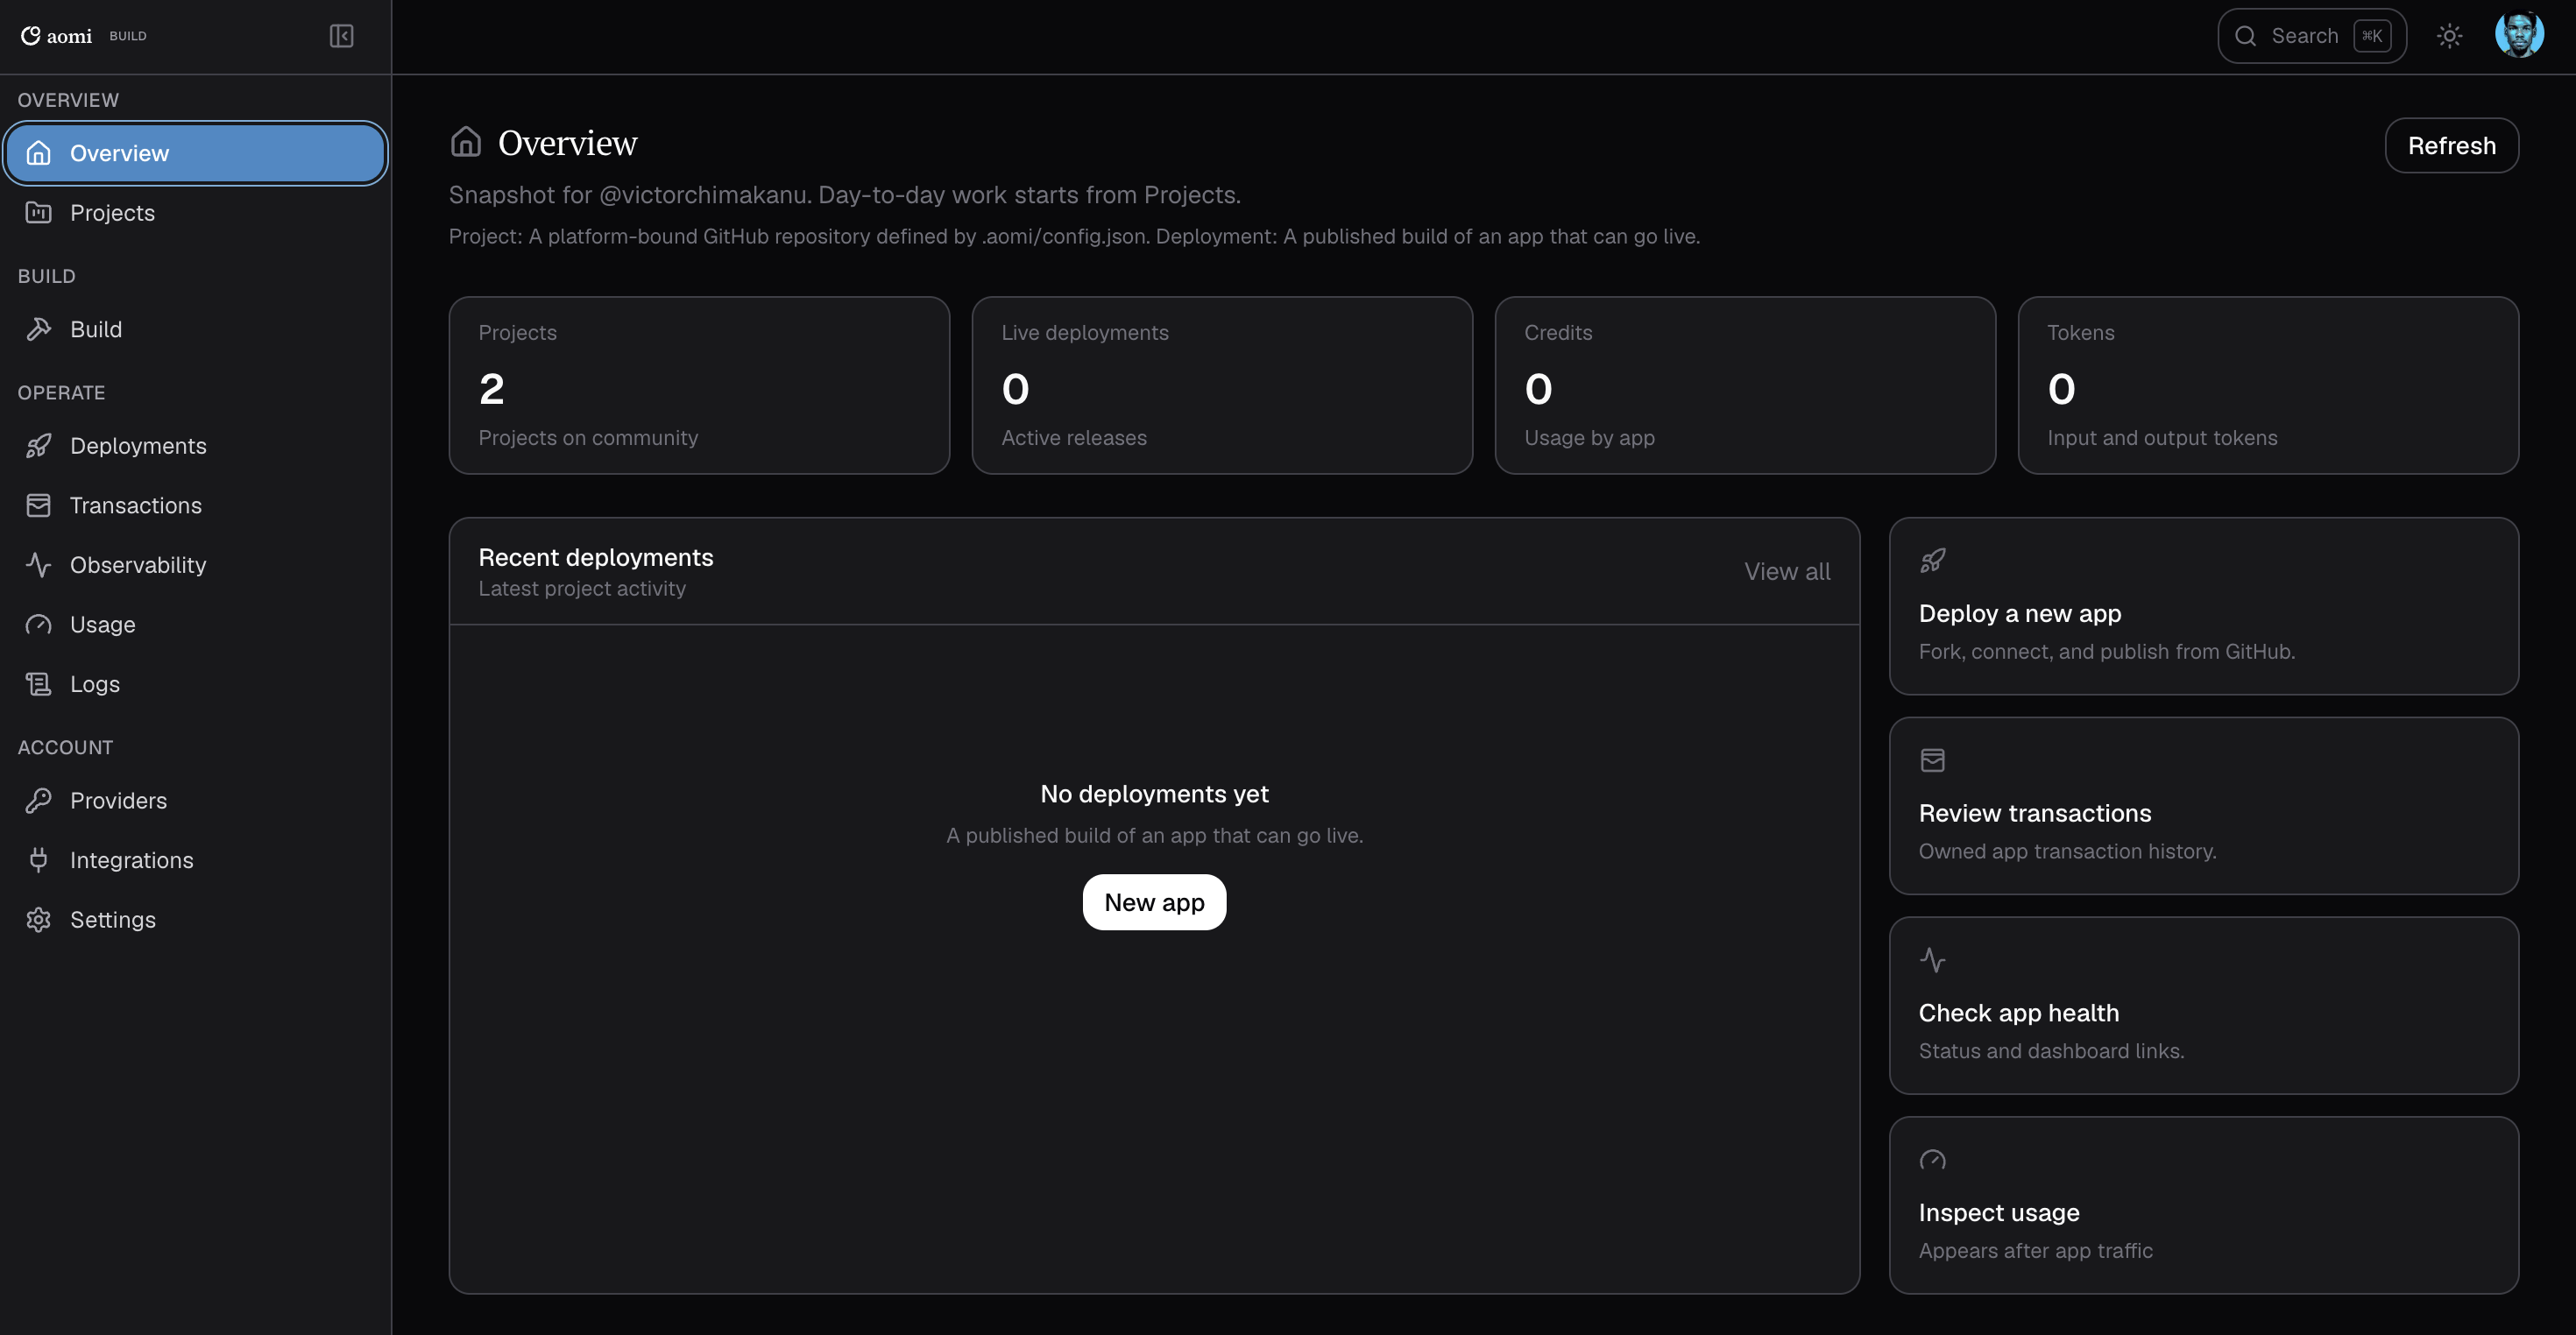
Overview is an account snapshot. Open Projects to work on an App.
Sign in and check your Projects
Open build.aomi.dev and click Continue with GitHub. Use the account that owns the repositories you want to connect. Before you sign in, account-specific pages show SIGN IN badges.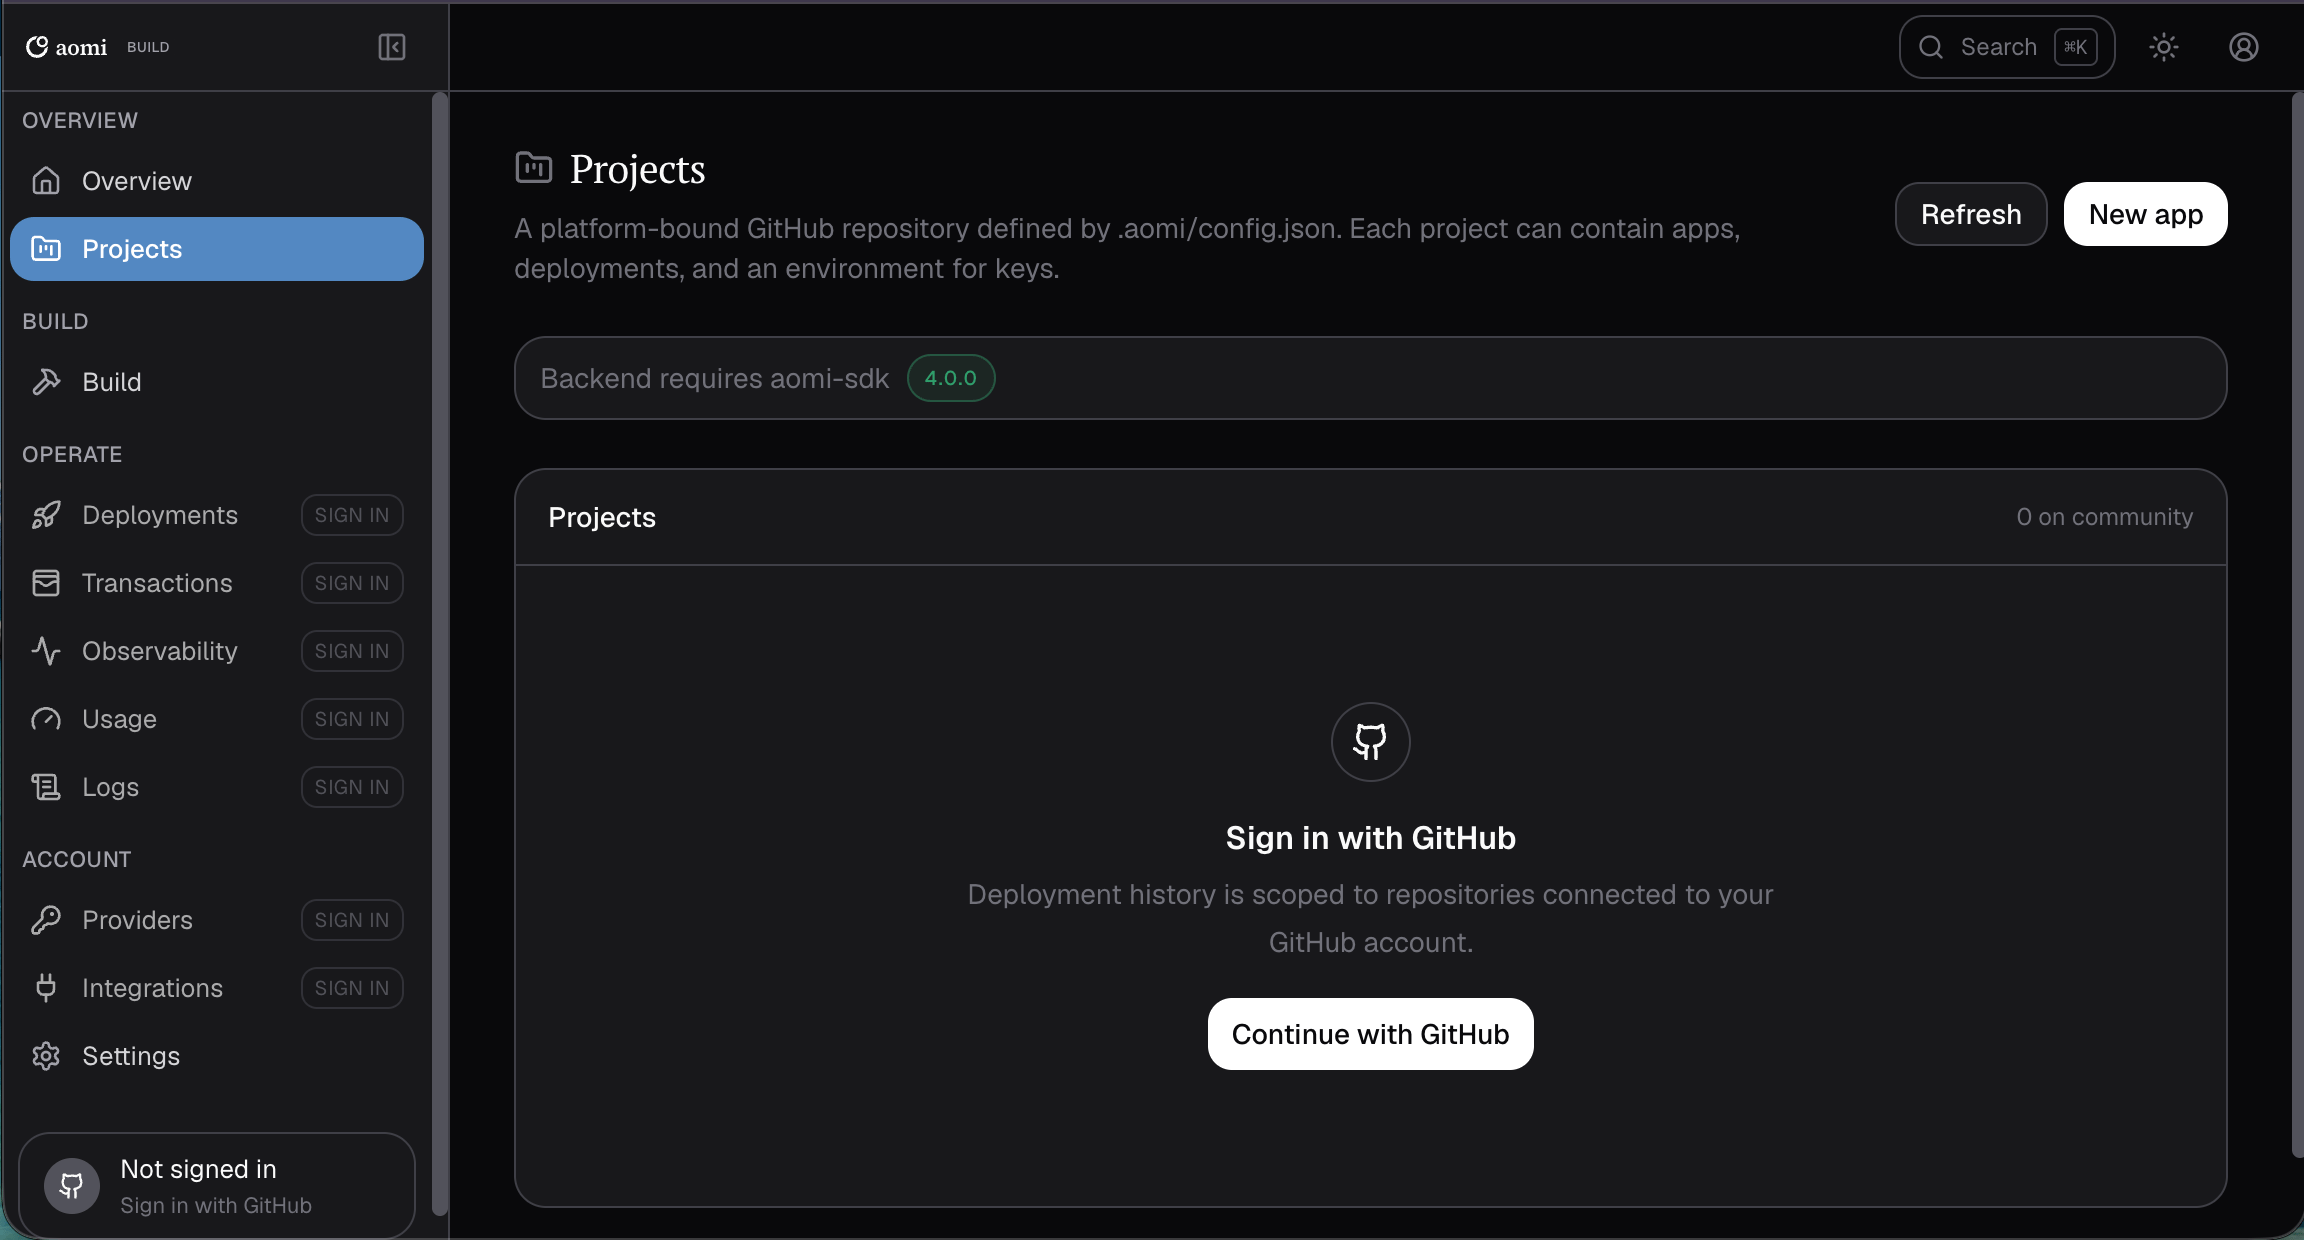
Sign in with GitHub to see your connected repositories and deployment history.
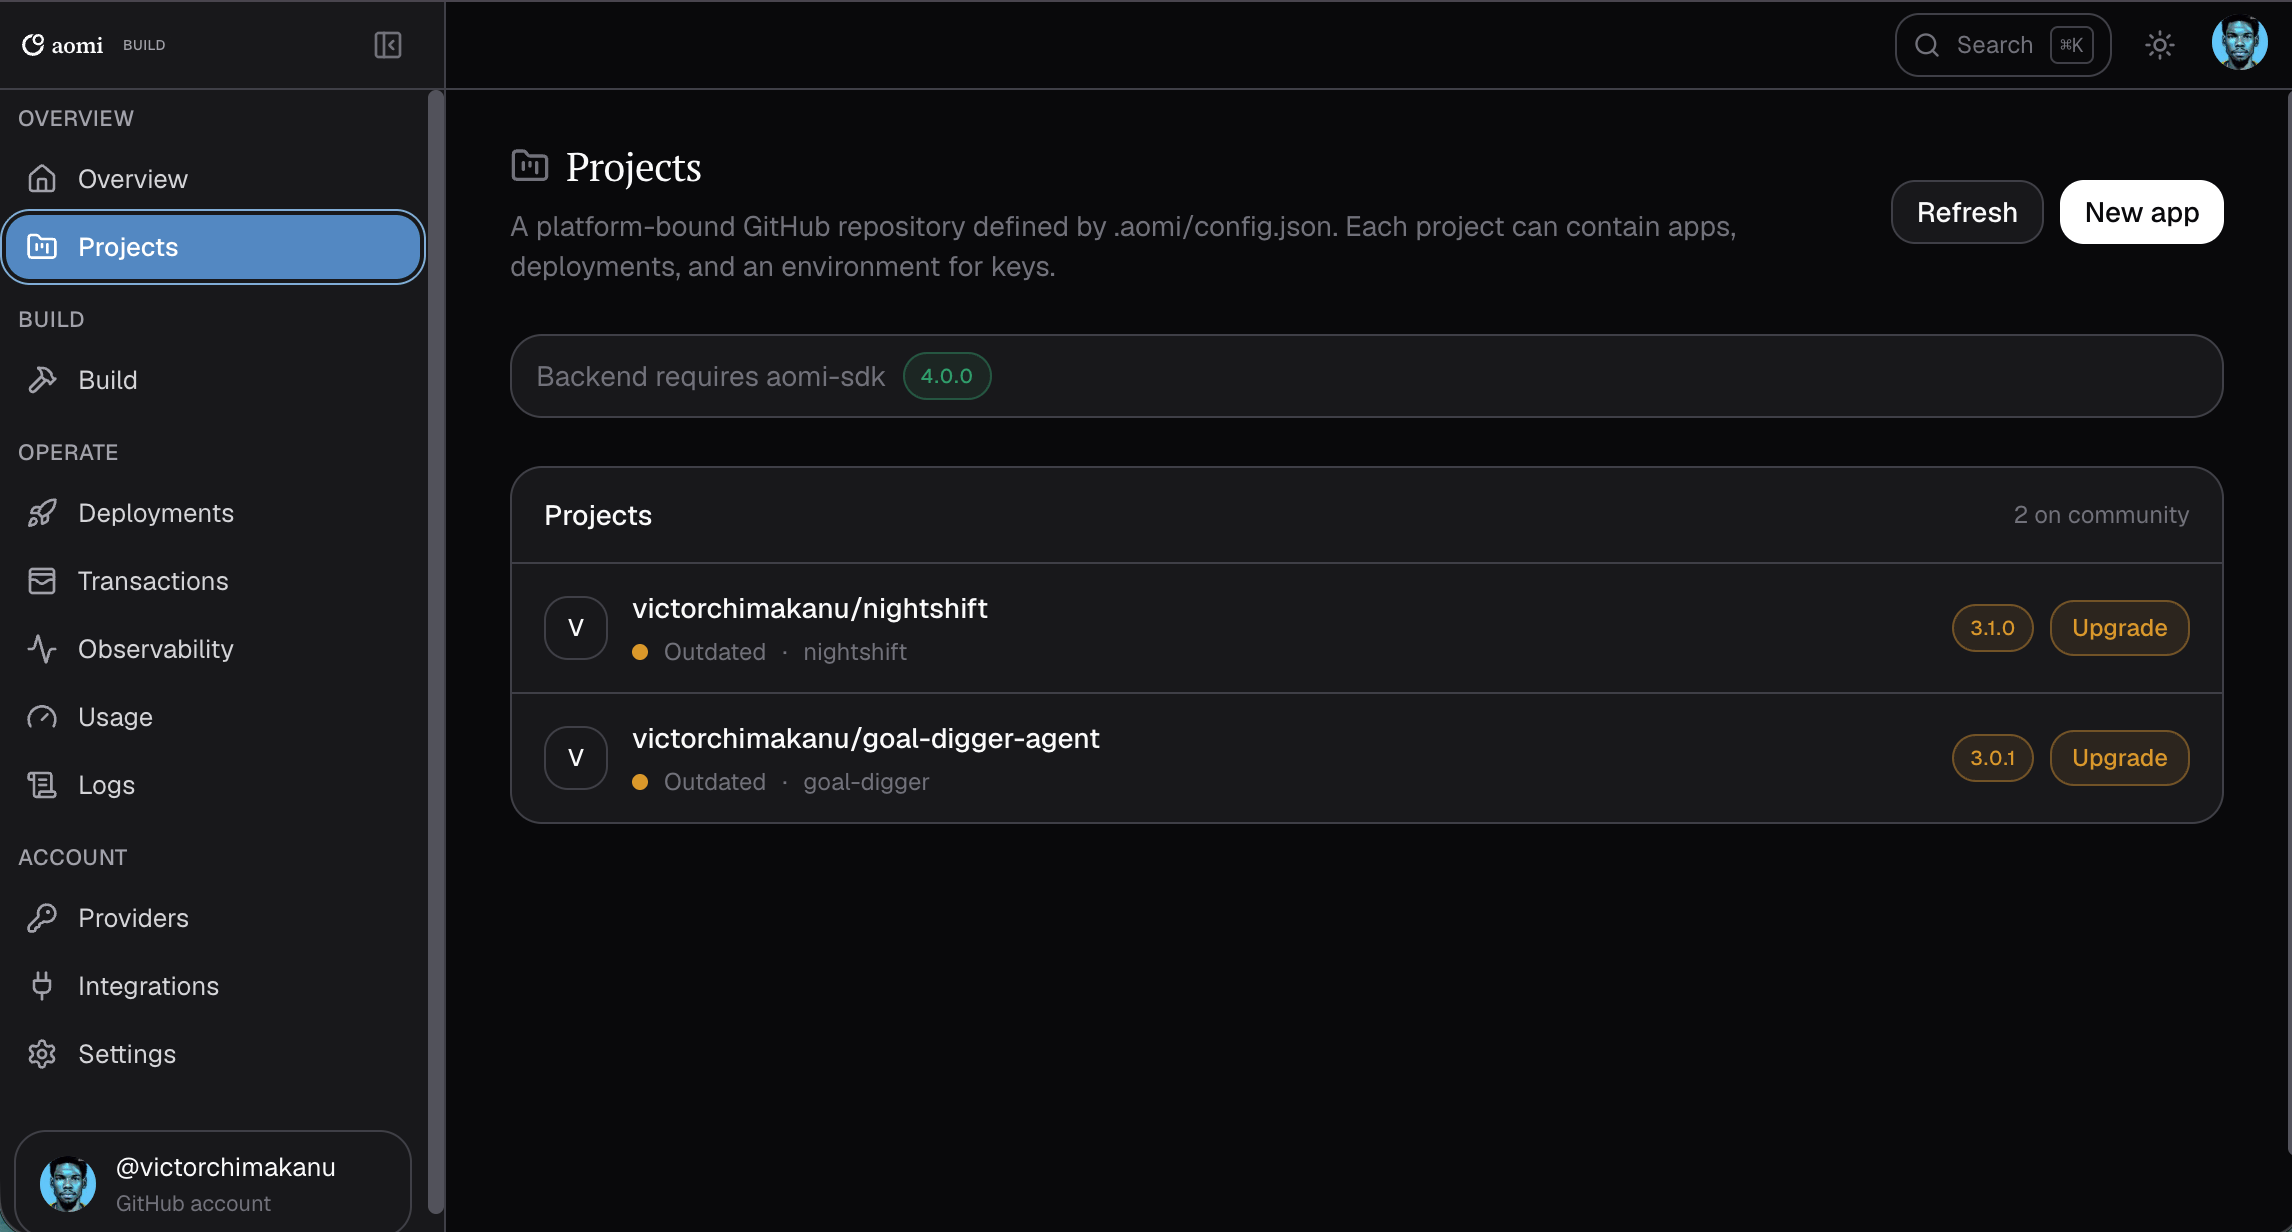
Compare each Project’s SDK badge with the requirement above the list.
Start from an idea in Build
Open Build to describe the App you want to create. The composer offers shortcuts such as Arb bot, OpenAPI agent, and Plan from idea, plus starting templates including Arbitrage Bot, OpenAPI Agent, and Trading Agent. Use Browse all to see more templates. Describe the task, the APIs or protocols it needs, and the result a user should get. For example:Create an App that uses a public market-data API to compare token prices and explain the results. Keep its tools read-only.The page lays out the workflow: describe, review the plan and files, compile, smoke-test, then ship to Projects. Review the generated work and its test results before deploying. A prompt or template selection is only the start; confirm deployment and activation before treating the App as live.
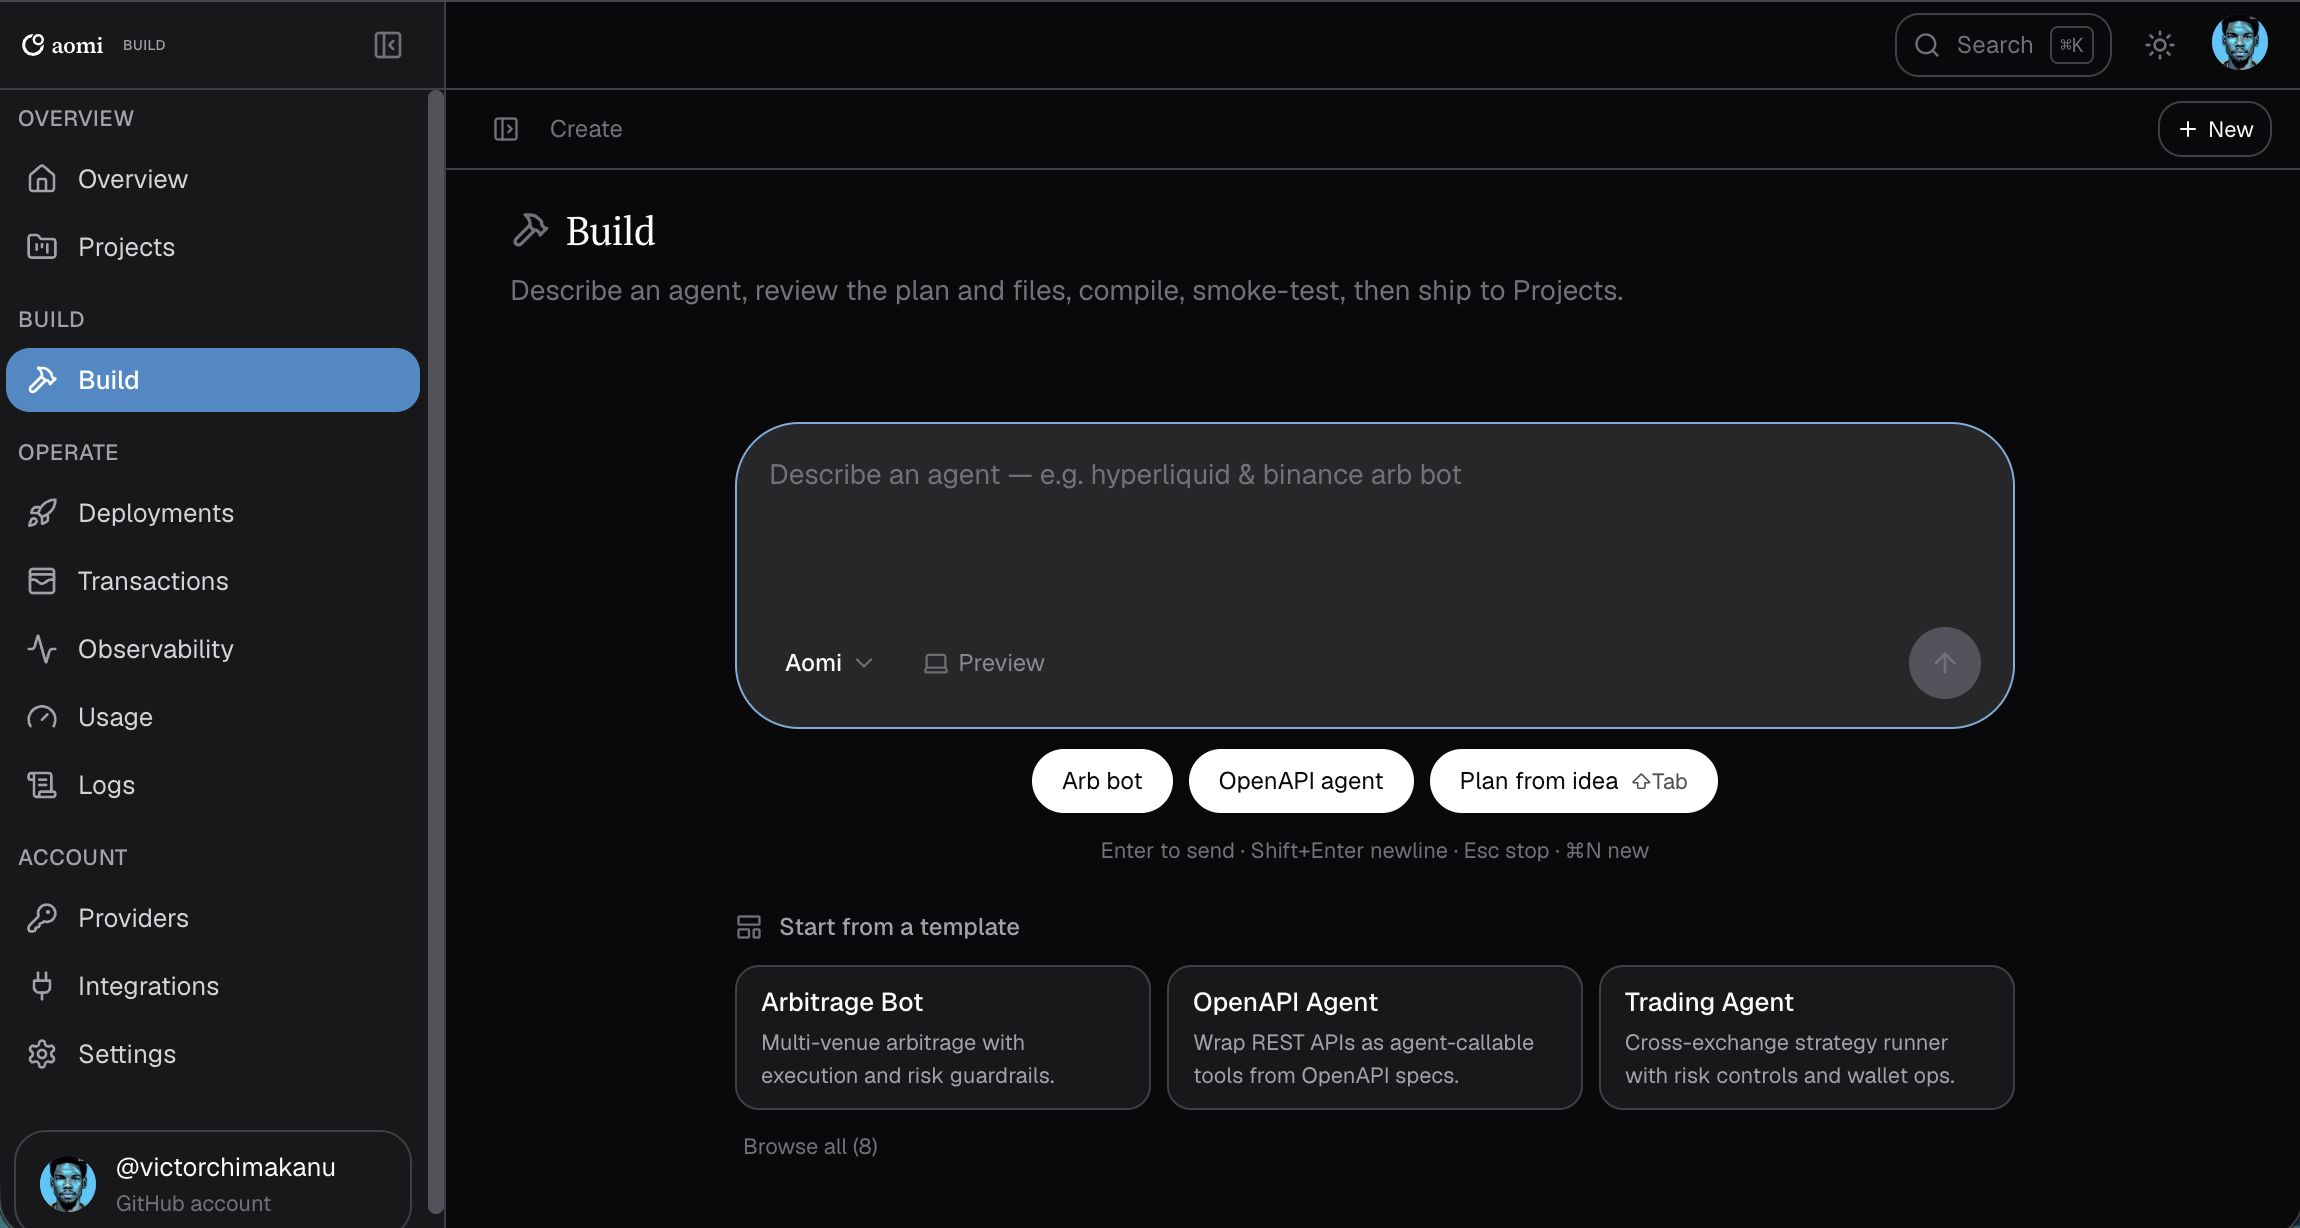
Start with a description or template, then review the plan and files.
Ship your first App from the browser
Start from Aomi’s template or import a GitHub repository you already own.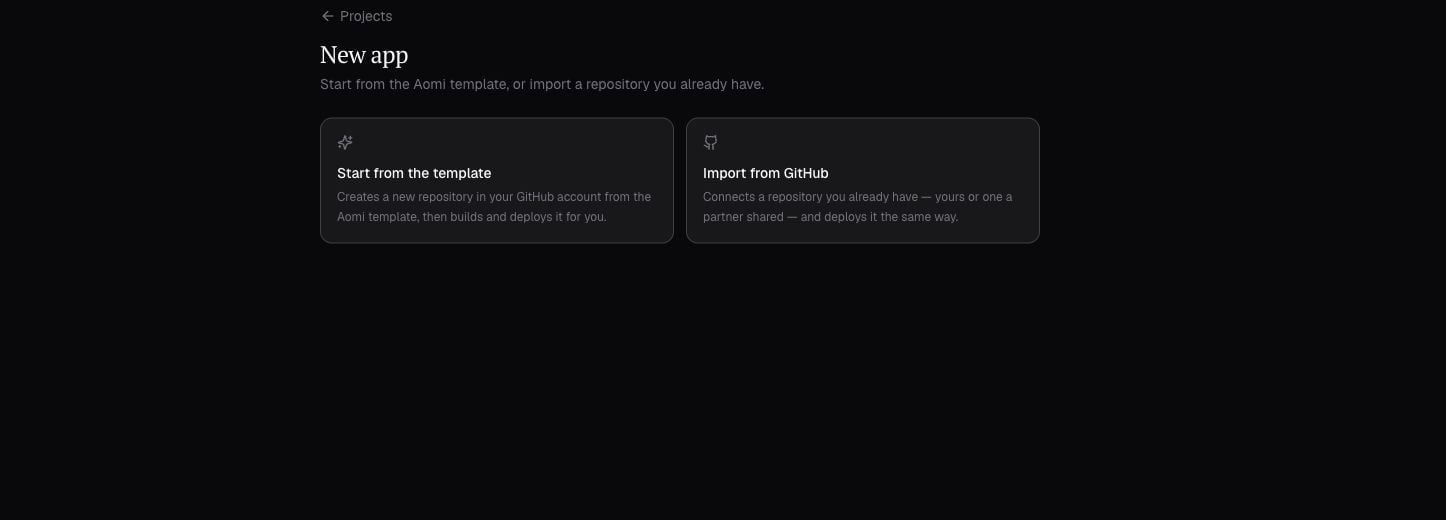
Sign in with GitHub
Install the Aomi Build GitHub App
Create
aomi-labs/playground-example into your account. Choose Import from
GitHub to connect a repository you already have. Either path creates a
Project in Build.Deploy and activate
Live
aomi-build connect. Once connected, the
repository appears as a Project and gets the same web lifecycle below.The project page
Every Project has one page with five tabs:- Home. View live status, the environment, a usage meter, and a monetization card when the App prices its tools. The page displays the next available action on one button.
- Deployments. View the release history for this Project. Each deployment can be promoted or deactivated from its row.
- Providers. See which model keys fund this Project’s Apps. Key management itself lives on the global Providers page.
- Environment. View the variables declared by the App manifest, including descriptions and required flags, alongside the keys configured in the vault. Values are write-only: you can set, replace, or delete a secret, but the platform never echoes one back.
- Chat. Open your live App from chat.aomi.dev with the App preselected. If the App’s SDK is outdated, the tab points you to the upgrade instead.
Redeploy
Redeploy from Linked Repository runs deploy → platform CI → activate against the repo’s current head, and the page tracks each phase until the runtime confirms the release is loaded (it polls status for up to eight minutes before reporting a timeout).When the platform bumps the SDK
The backend pins a requiredaomi-sdk version, and it moves. When your project
falls behind, Build shows the required version and offers a one-click upgrade:
it opens a pull request on your repository (branch aomi/sdk-<version>)
that rewrites the pin, waits for you to merge it, then redeploys. The endpoint
is idempotent. Clicking again while the PR is open reuses it. If your
Cargo.lock has to be regenerated locally, the flow says so and hands you the
exact command instead of guessing. The CLI equivalent is aomi-build sdk fix.
Model provider keys
Account → Providers stores your OpenAI, Anthropic, and OpenRouter keys. Your Apps’ model spend then routes through accounts you control. Key material is write-only: after you paste a key, only its stored prefix is ever displayed. Each key can be assigned to specific projects, and each key row shows the tokens and cost it has accrued. Click Add key beside the provider you want to use, then configure its Project assignments. These keys fund model inference. Put API credentials used by your App’s tools in the Project’s Environment tab instead.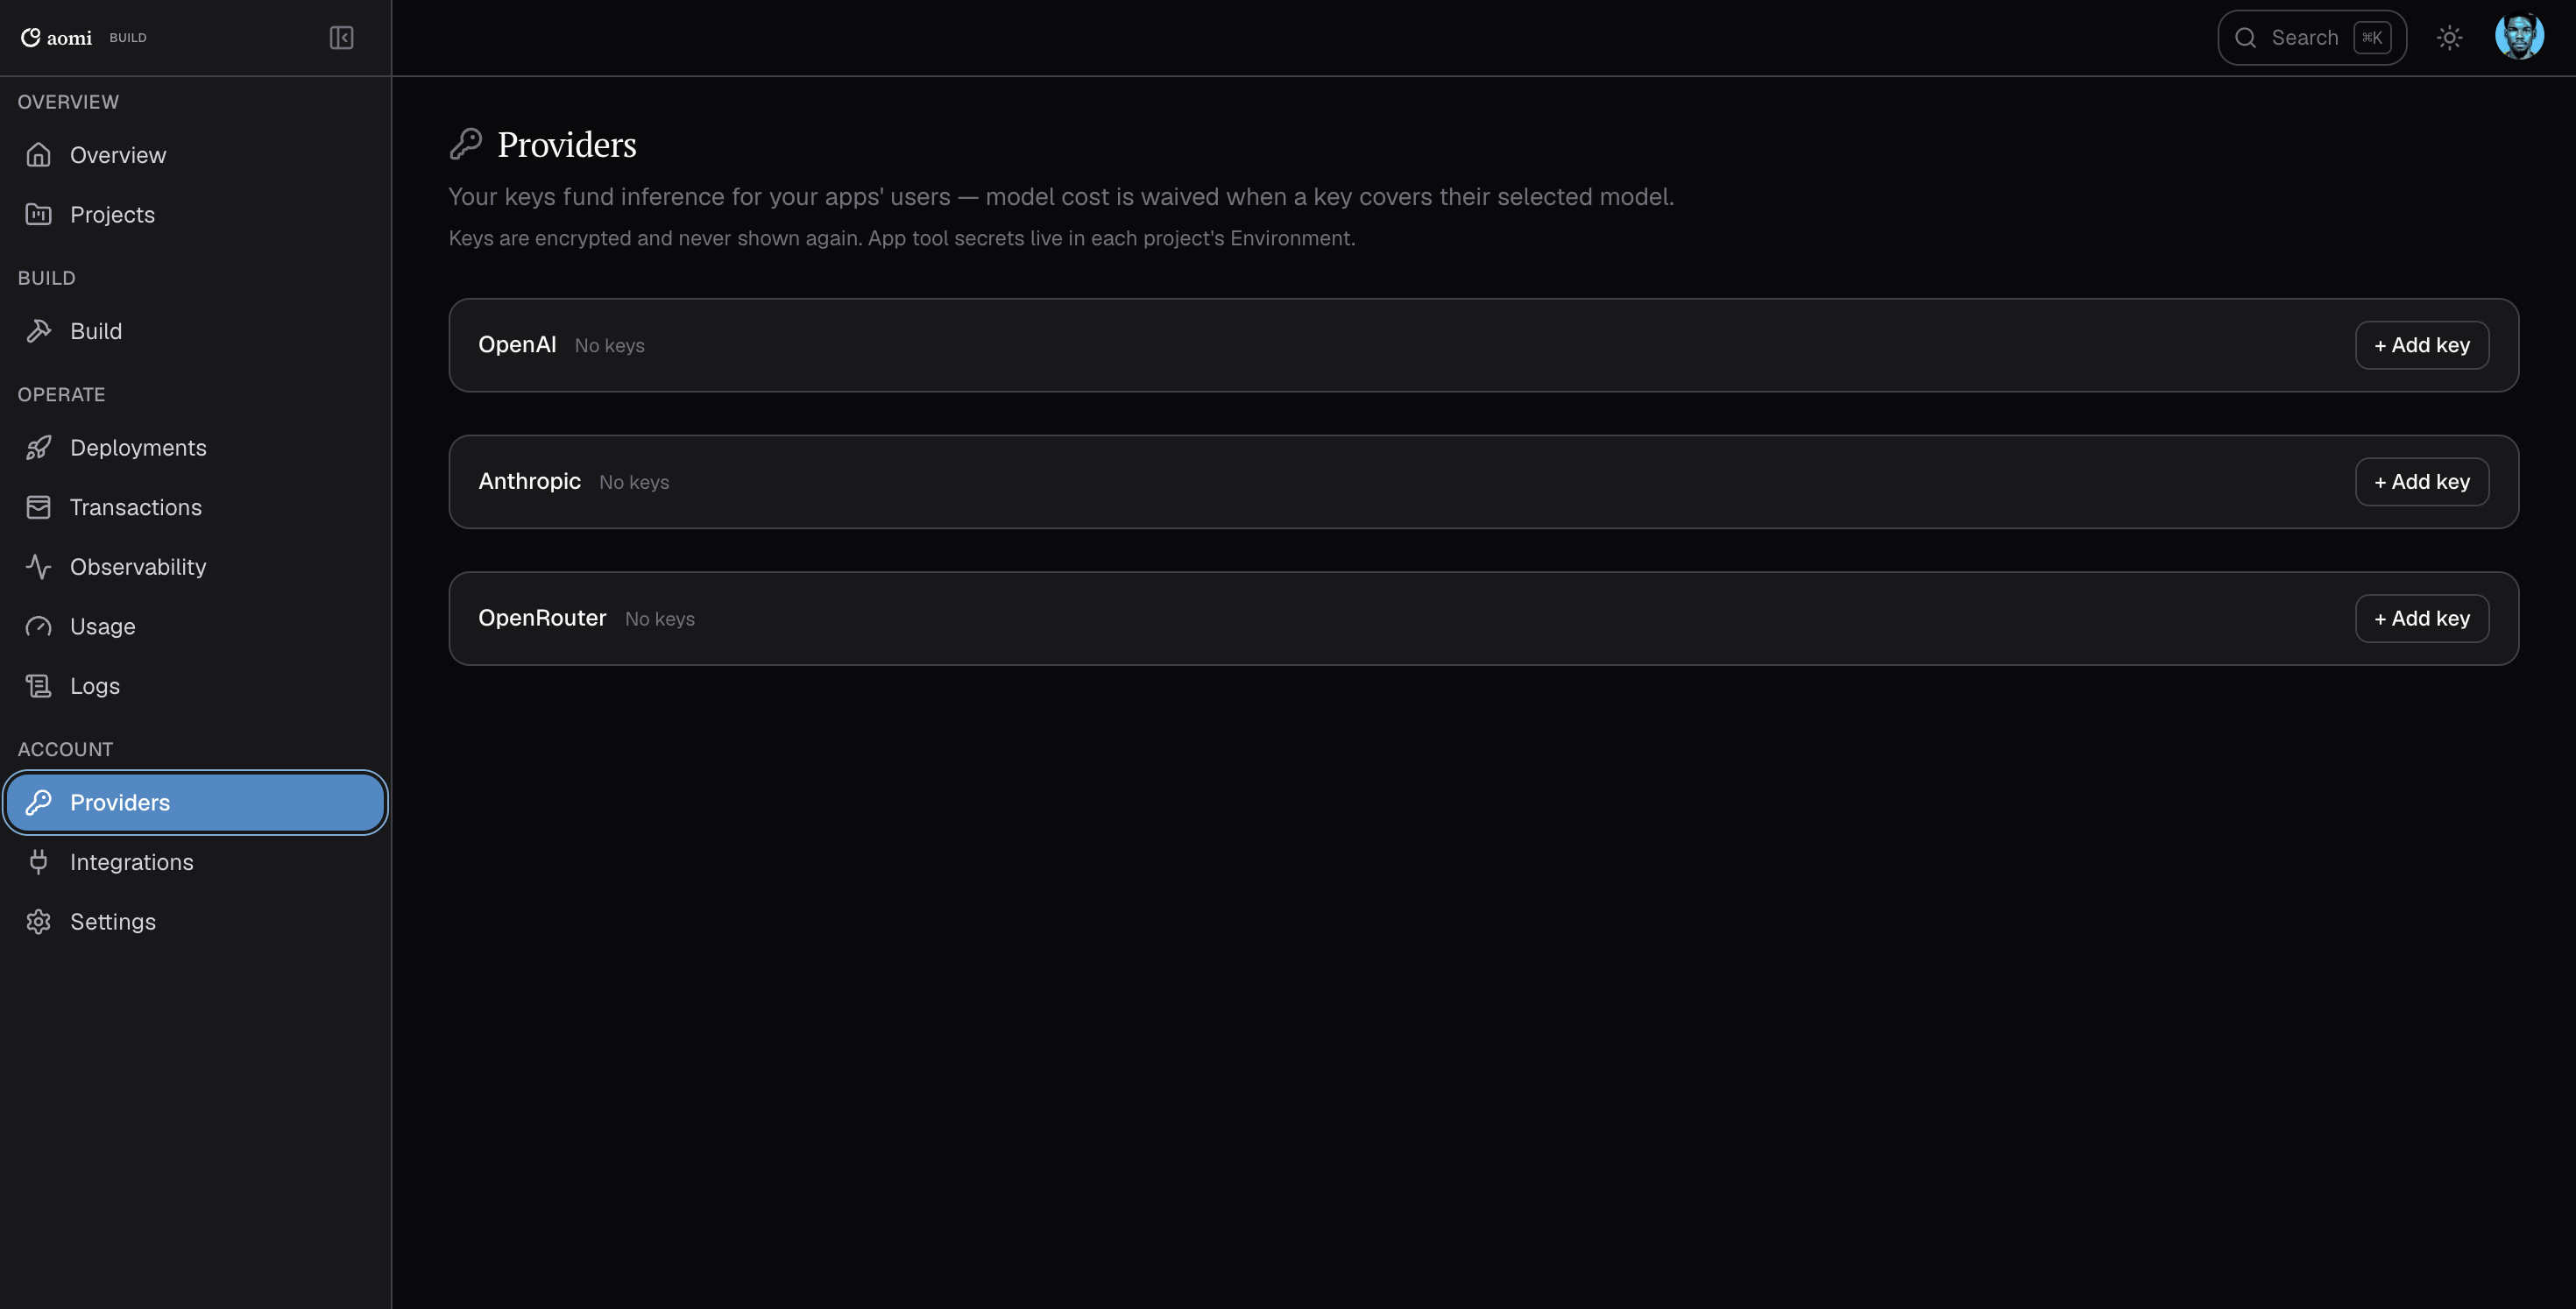
Provider keys fund models; tool secrets belong in the Project’s Environment tab.
Integrations
Open Account → Integrations and select Telegram to connect a bot to one or more deployed Apps. The page includes BotFather instructions and a copyable slash-command list. Discord and Slack are marked Soon.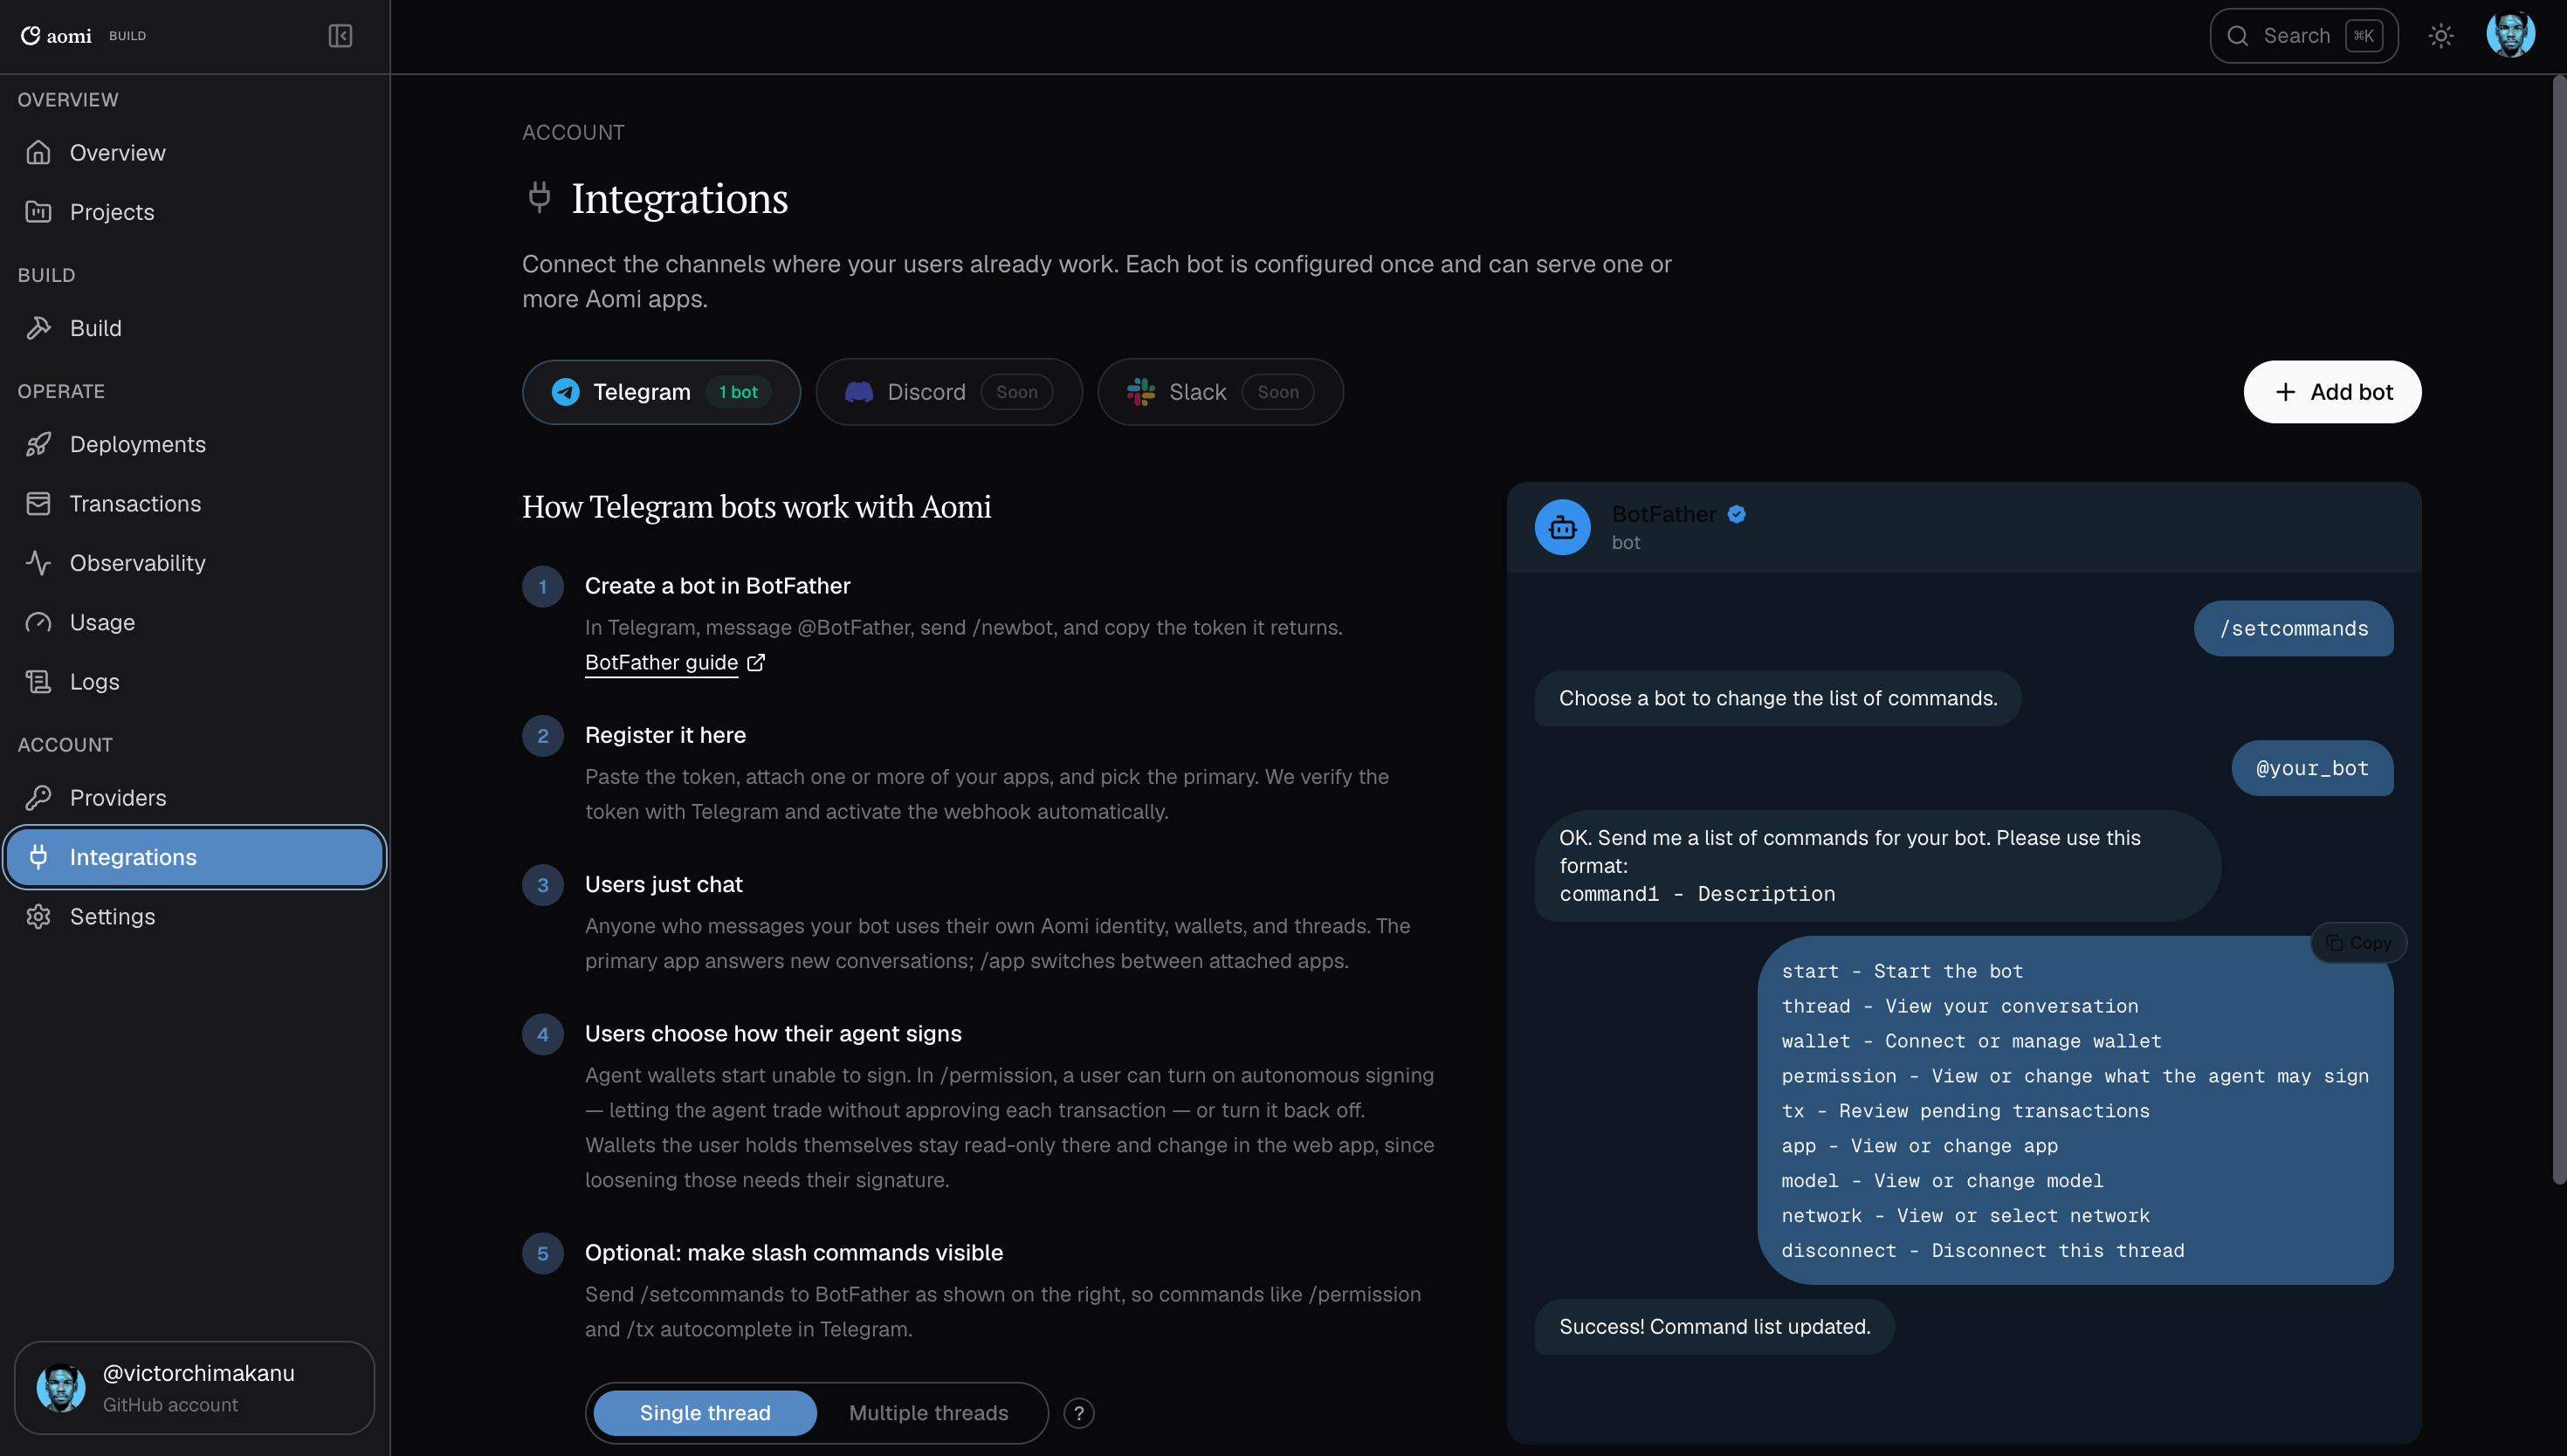
Create the bot in BotFather, then register it in Aomi.
- In Telegram, send
/newbotto @BotFather and copy the token. - In the console, click Add bot and paste the token into Bot token. Add an optional label.
- Choose Single thread or Multiple threads, select the Apps the bot serves, and pick a Primary App for new conversations.
- Click Register bot. Aomi verifies the token and configures the webhook.
- Check the bot’s Active badge, then open it in Telegram and test a message.
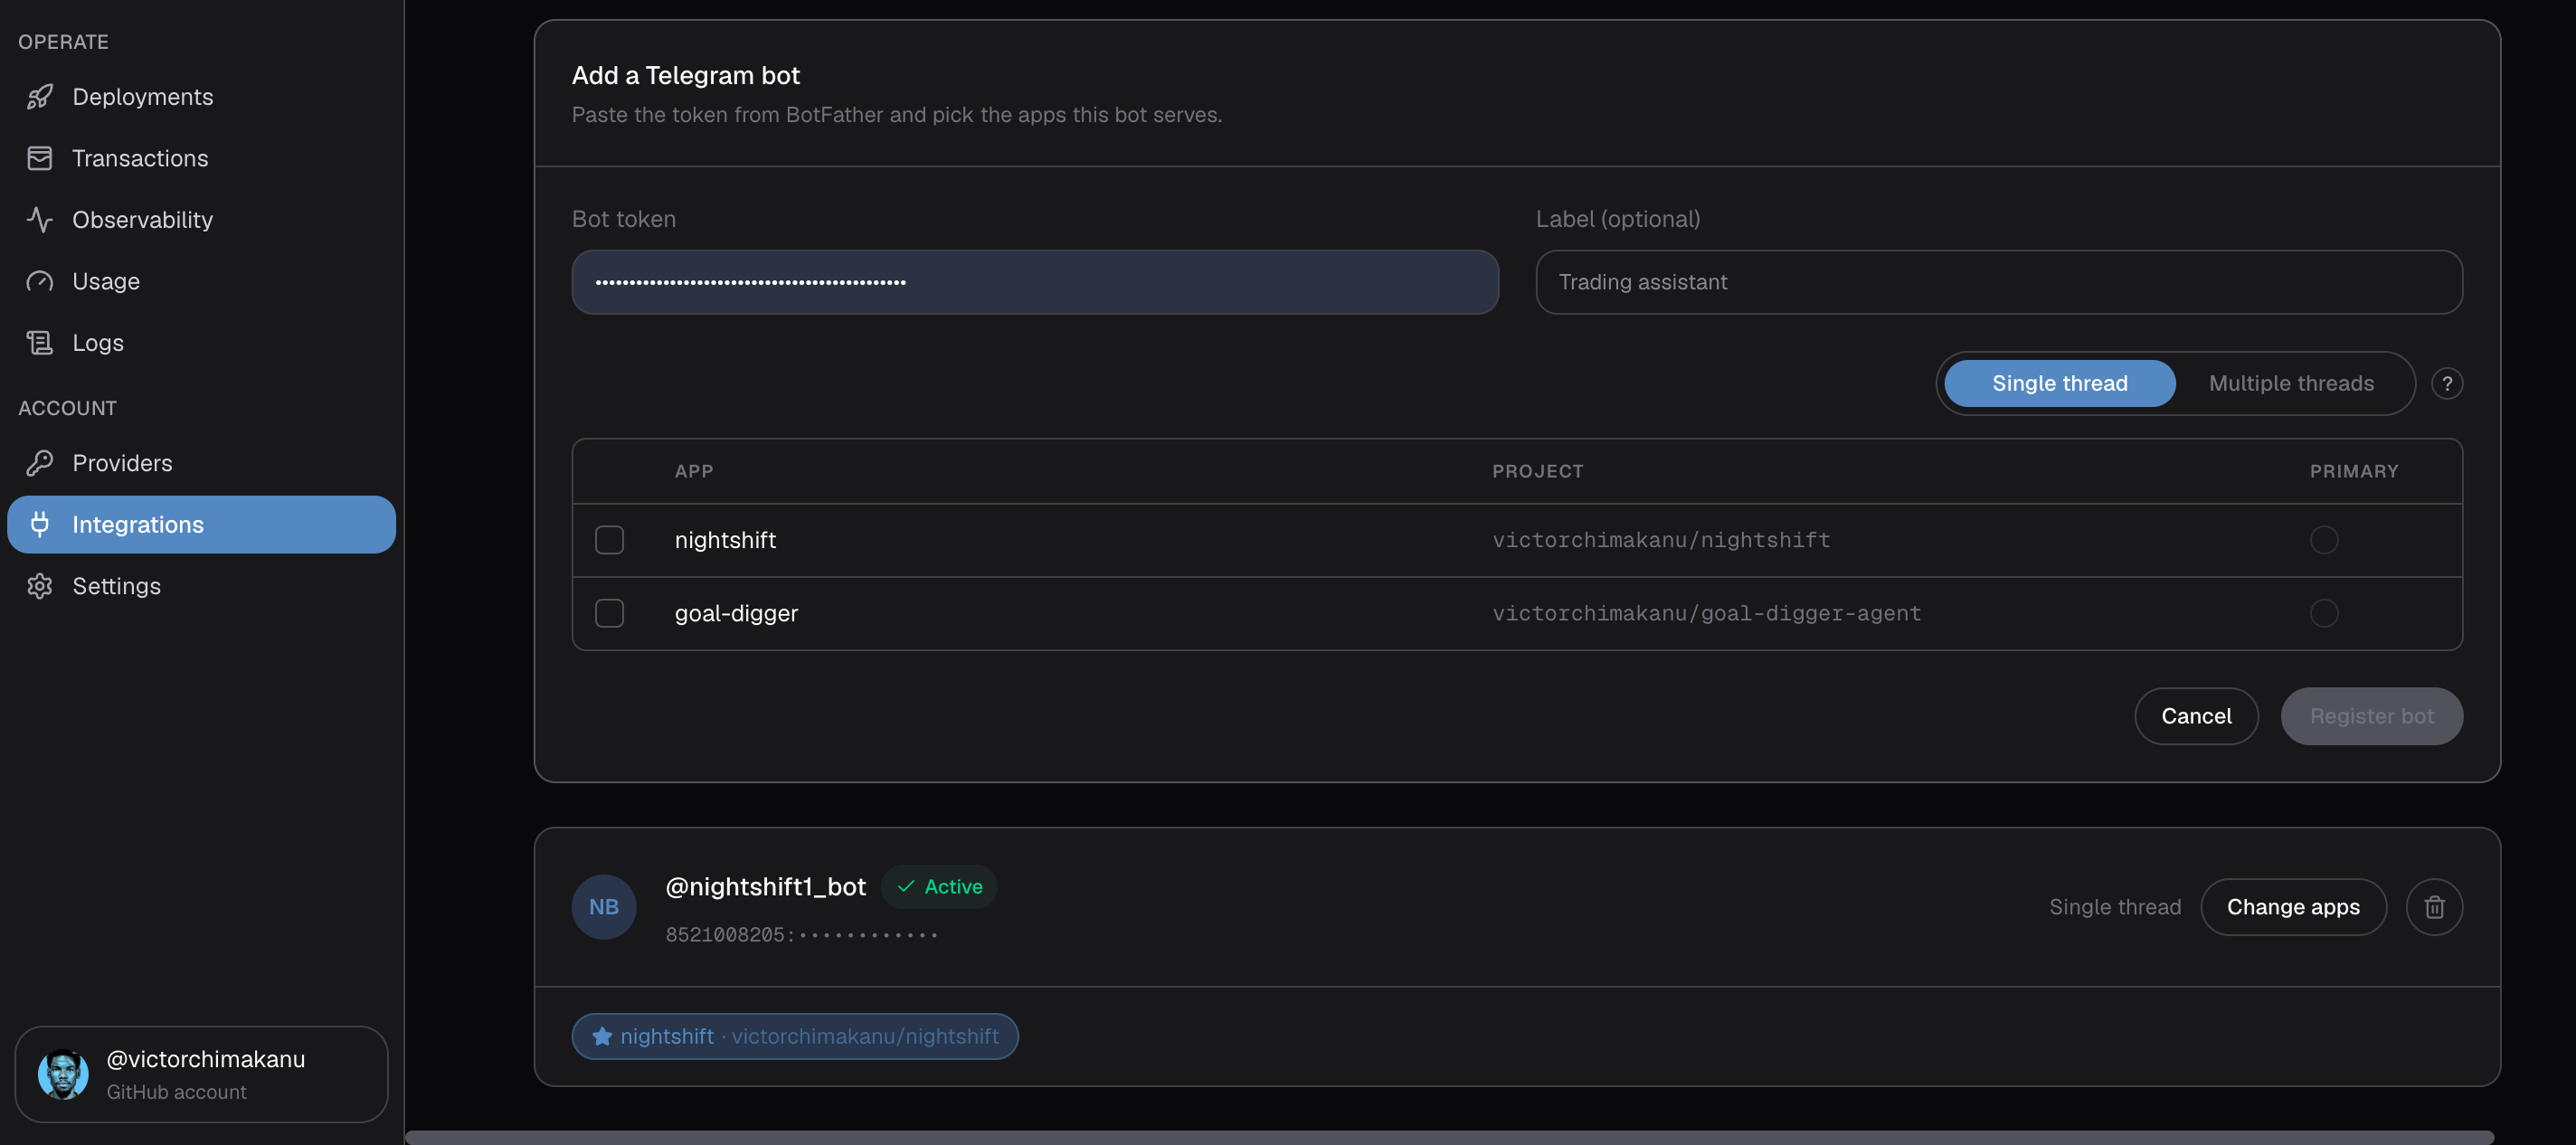
Select the attached Apps and a primary App before registering. Change apps edits an existing bot.
/app. For thread modes, user
setup, and signing permissions, follow the Telegram walkthrough.
Operate
Use the pages under Operate to understand deployments and App activity. Where available, use All projects to narrow the view to one Project.Transactions and empty states
No transactions yet means there are no transaction records in the current view. A deployed App or a chat message alone does not establish that an onchain transaction occurred. Open Projects, test the App, and return here after onchain activity. Check the Project filter if you do not see the record you expect.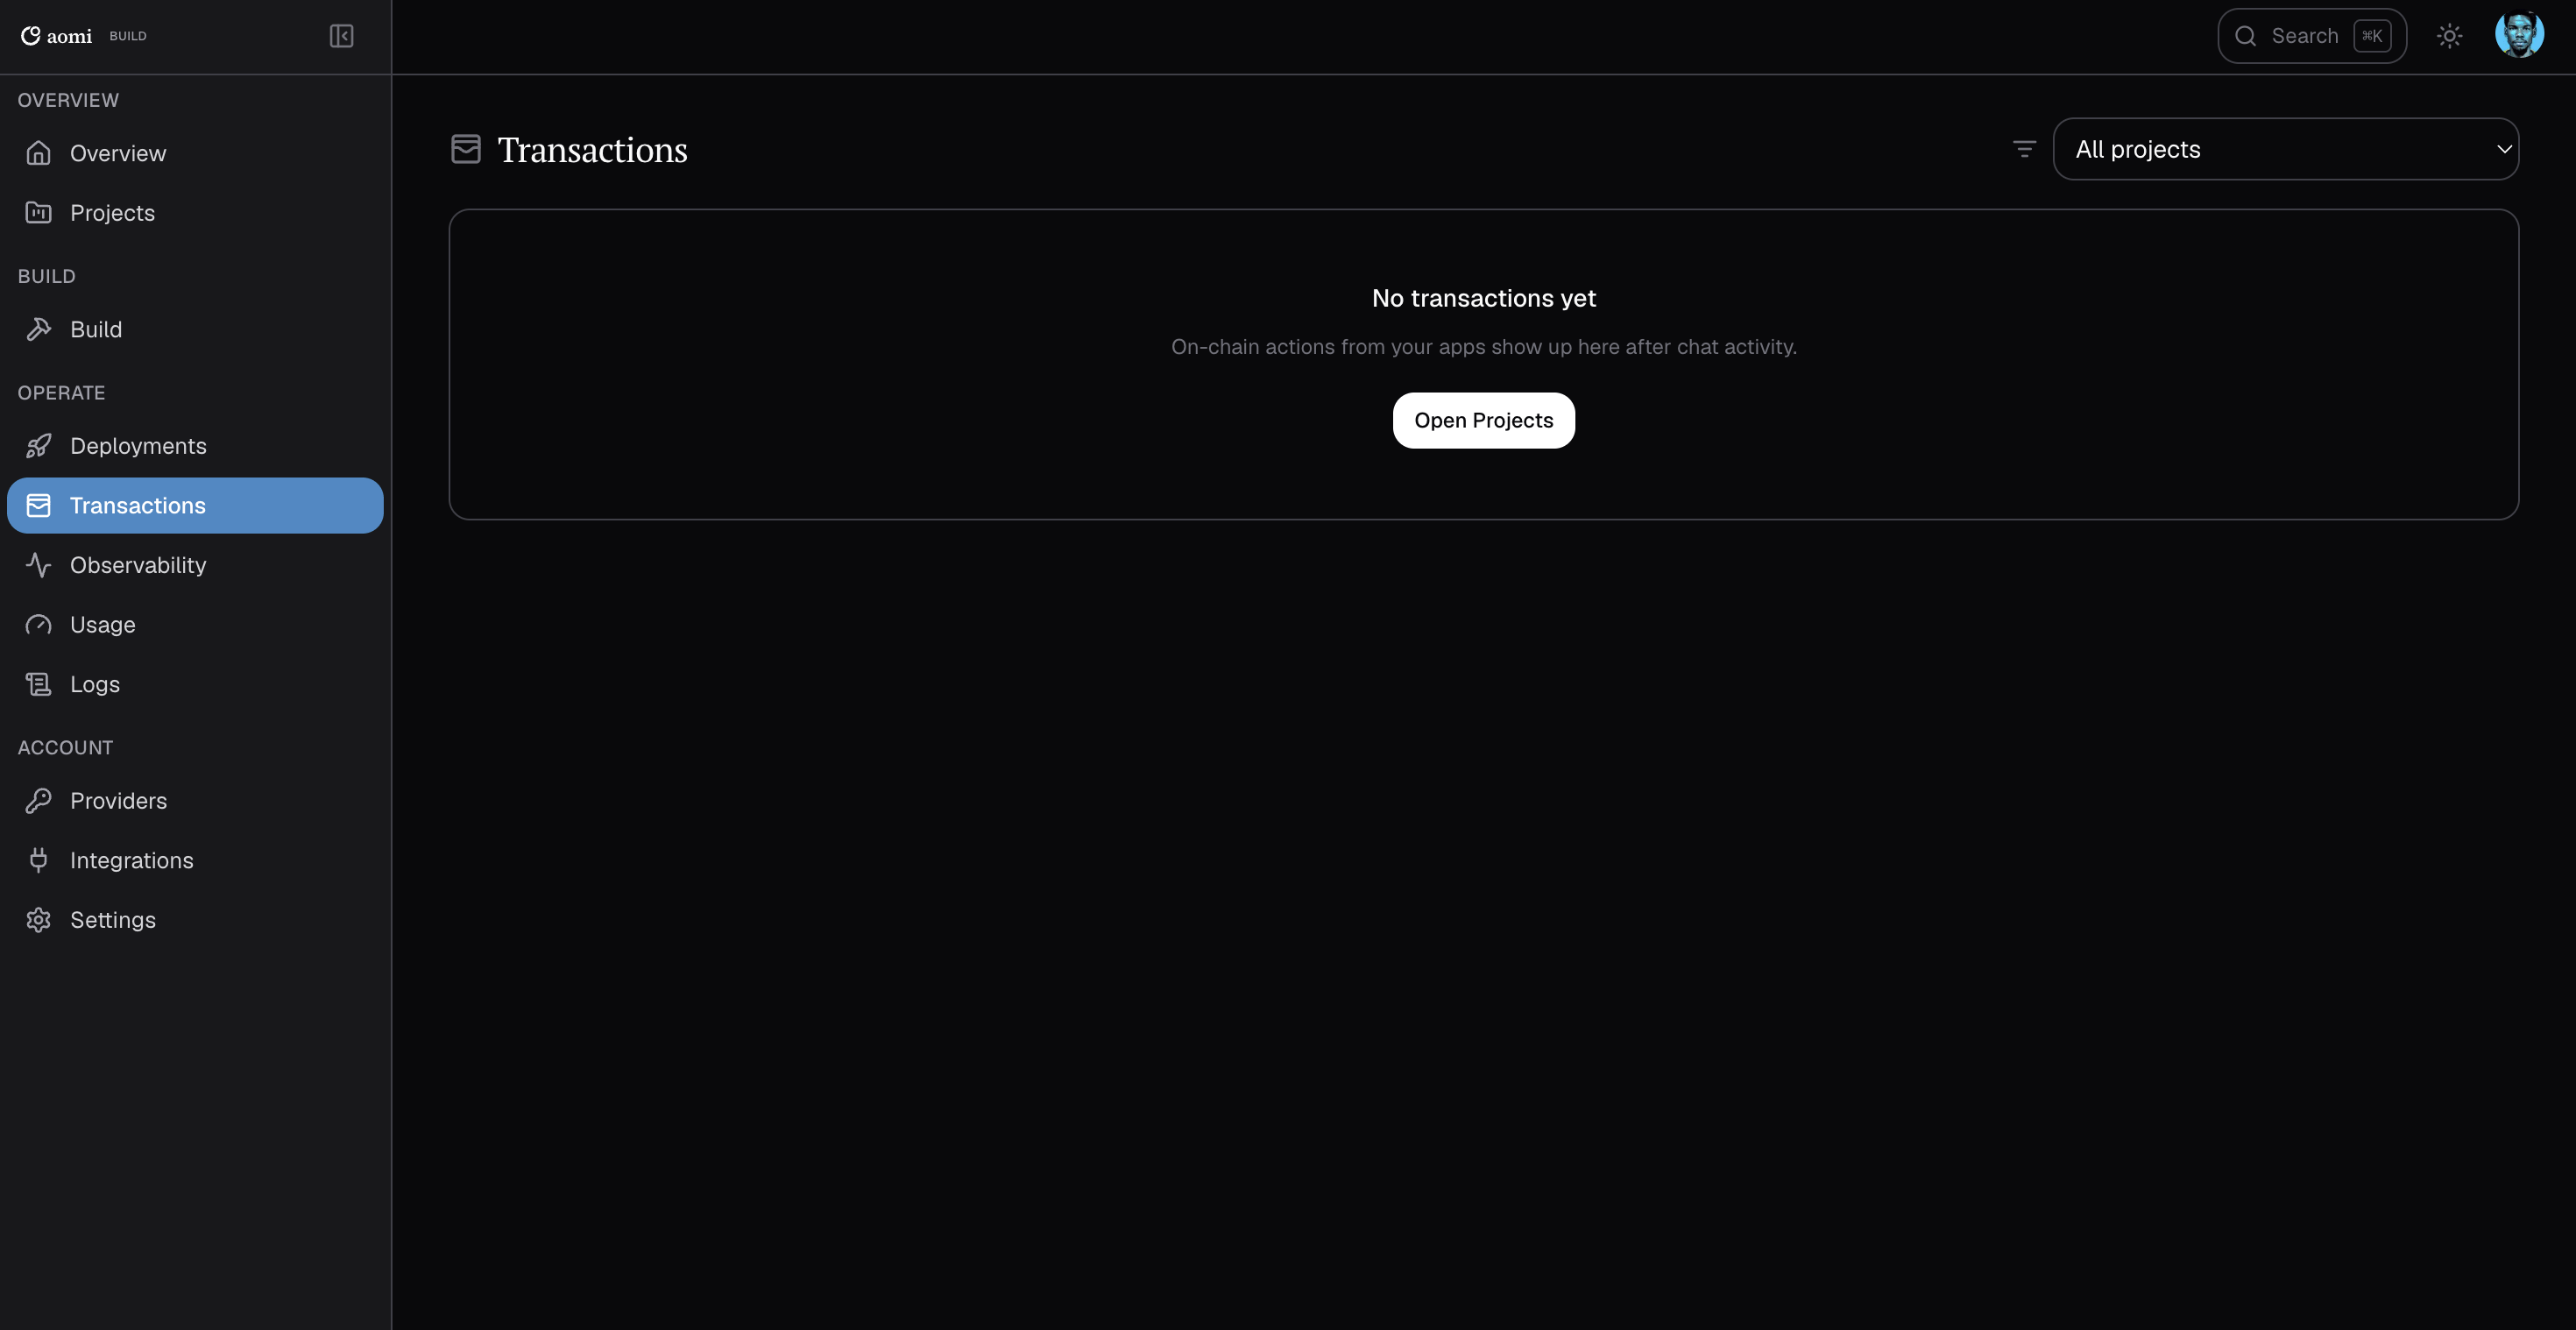
Transaction records appear after onchain activity from your Apps.
Read App health and activity separately
Observability shows each App’s health badge alongside Chats 24h, Tool calls 24h, Tx 24h, Error rate, and P95 latency. The Payment health summary shows priced calls and accrued, settled, and outstanding amounts. A healthy badge is not evidence of recent usage. In this capture, both Apps show healthy while activity counts are zero and some metrics say No data. Treat No data as unavailable measurement, not a measured zero. The platform scope label identifies metrics that cover the wider platform; do not read them as traffic from only your selected App.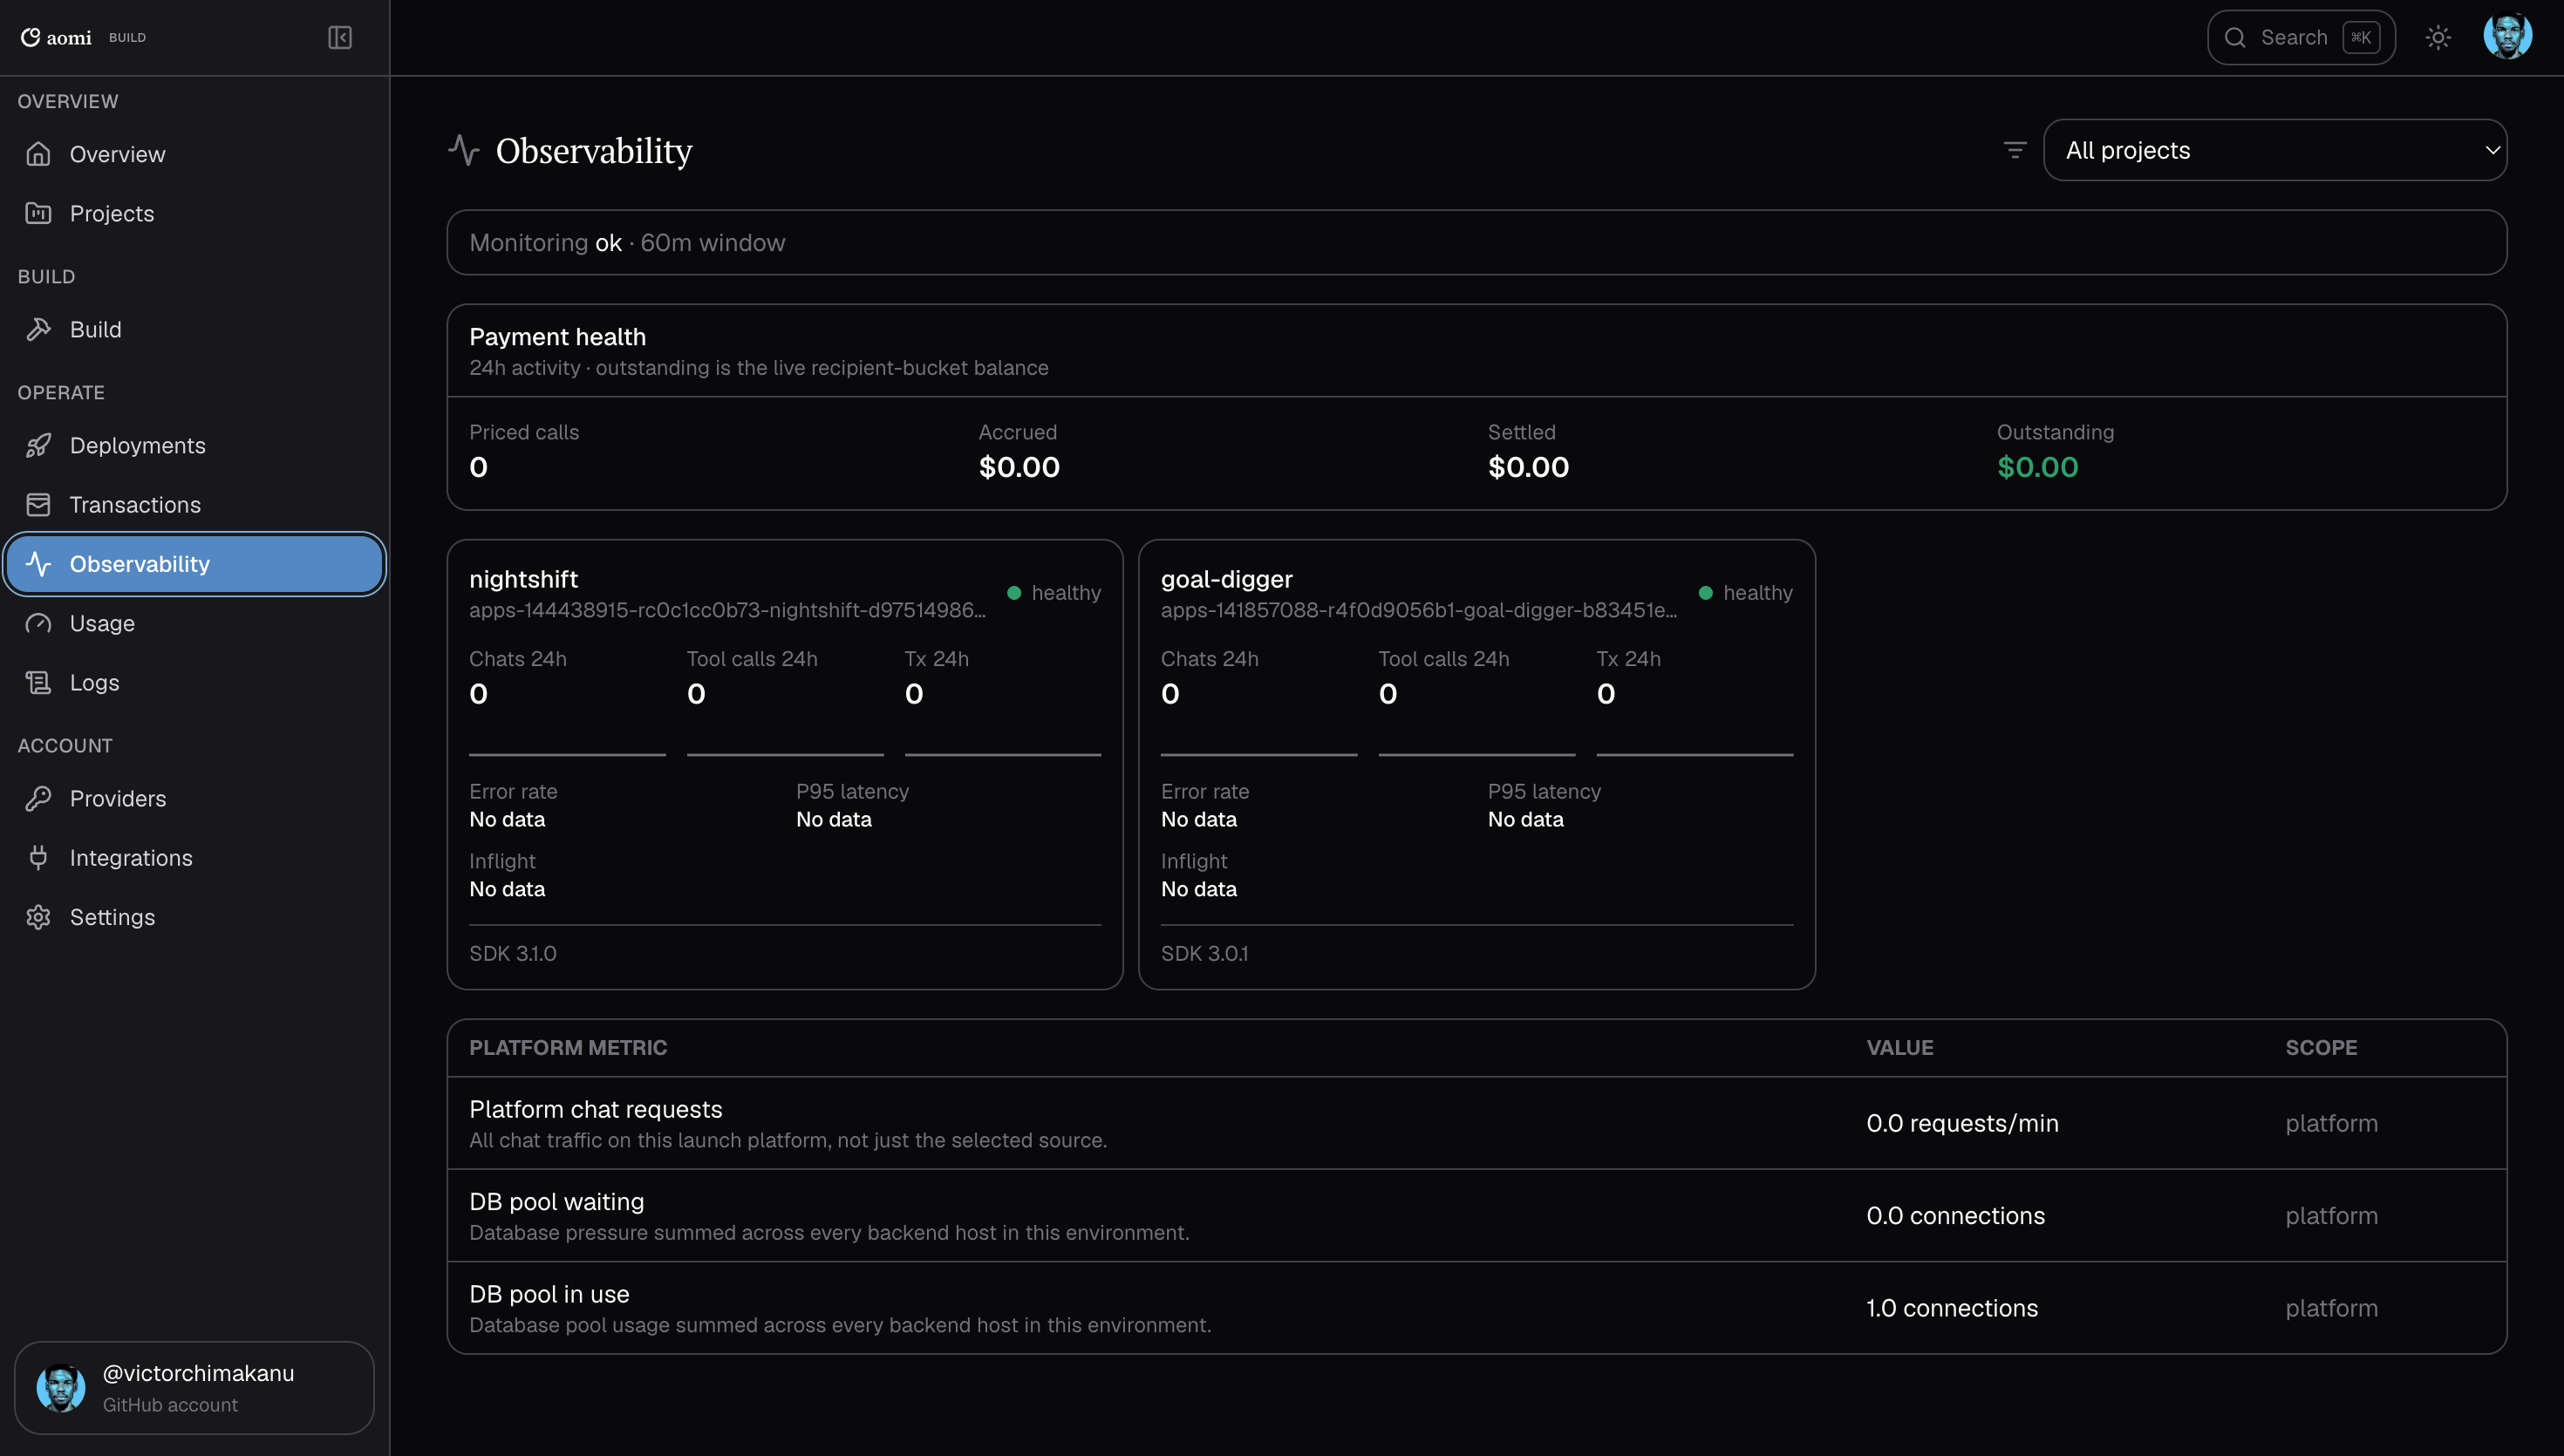
Read health, activity counts, and metric scope together.
Settings
Open Account → Settings to see the available account controls. The overview marks General and Billing as Available, and Secrets as Project-scoped. Manage tool secrets in the Project’s Environment tab. Open Billing for the payment setup options available to your account; inspect App consumption under Operate → Usage. For Telegram setup, use Account → Integrations in the main sidebar. For App health, use Operate → Observability. Their names also appear inside Settings, but those Settings cards are marked Soon in this capture.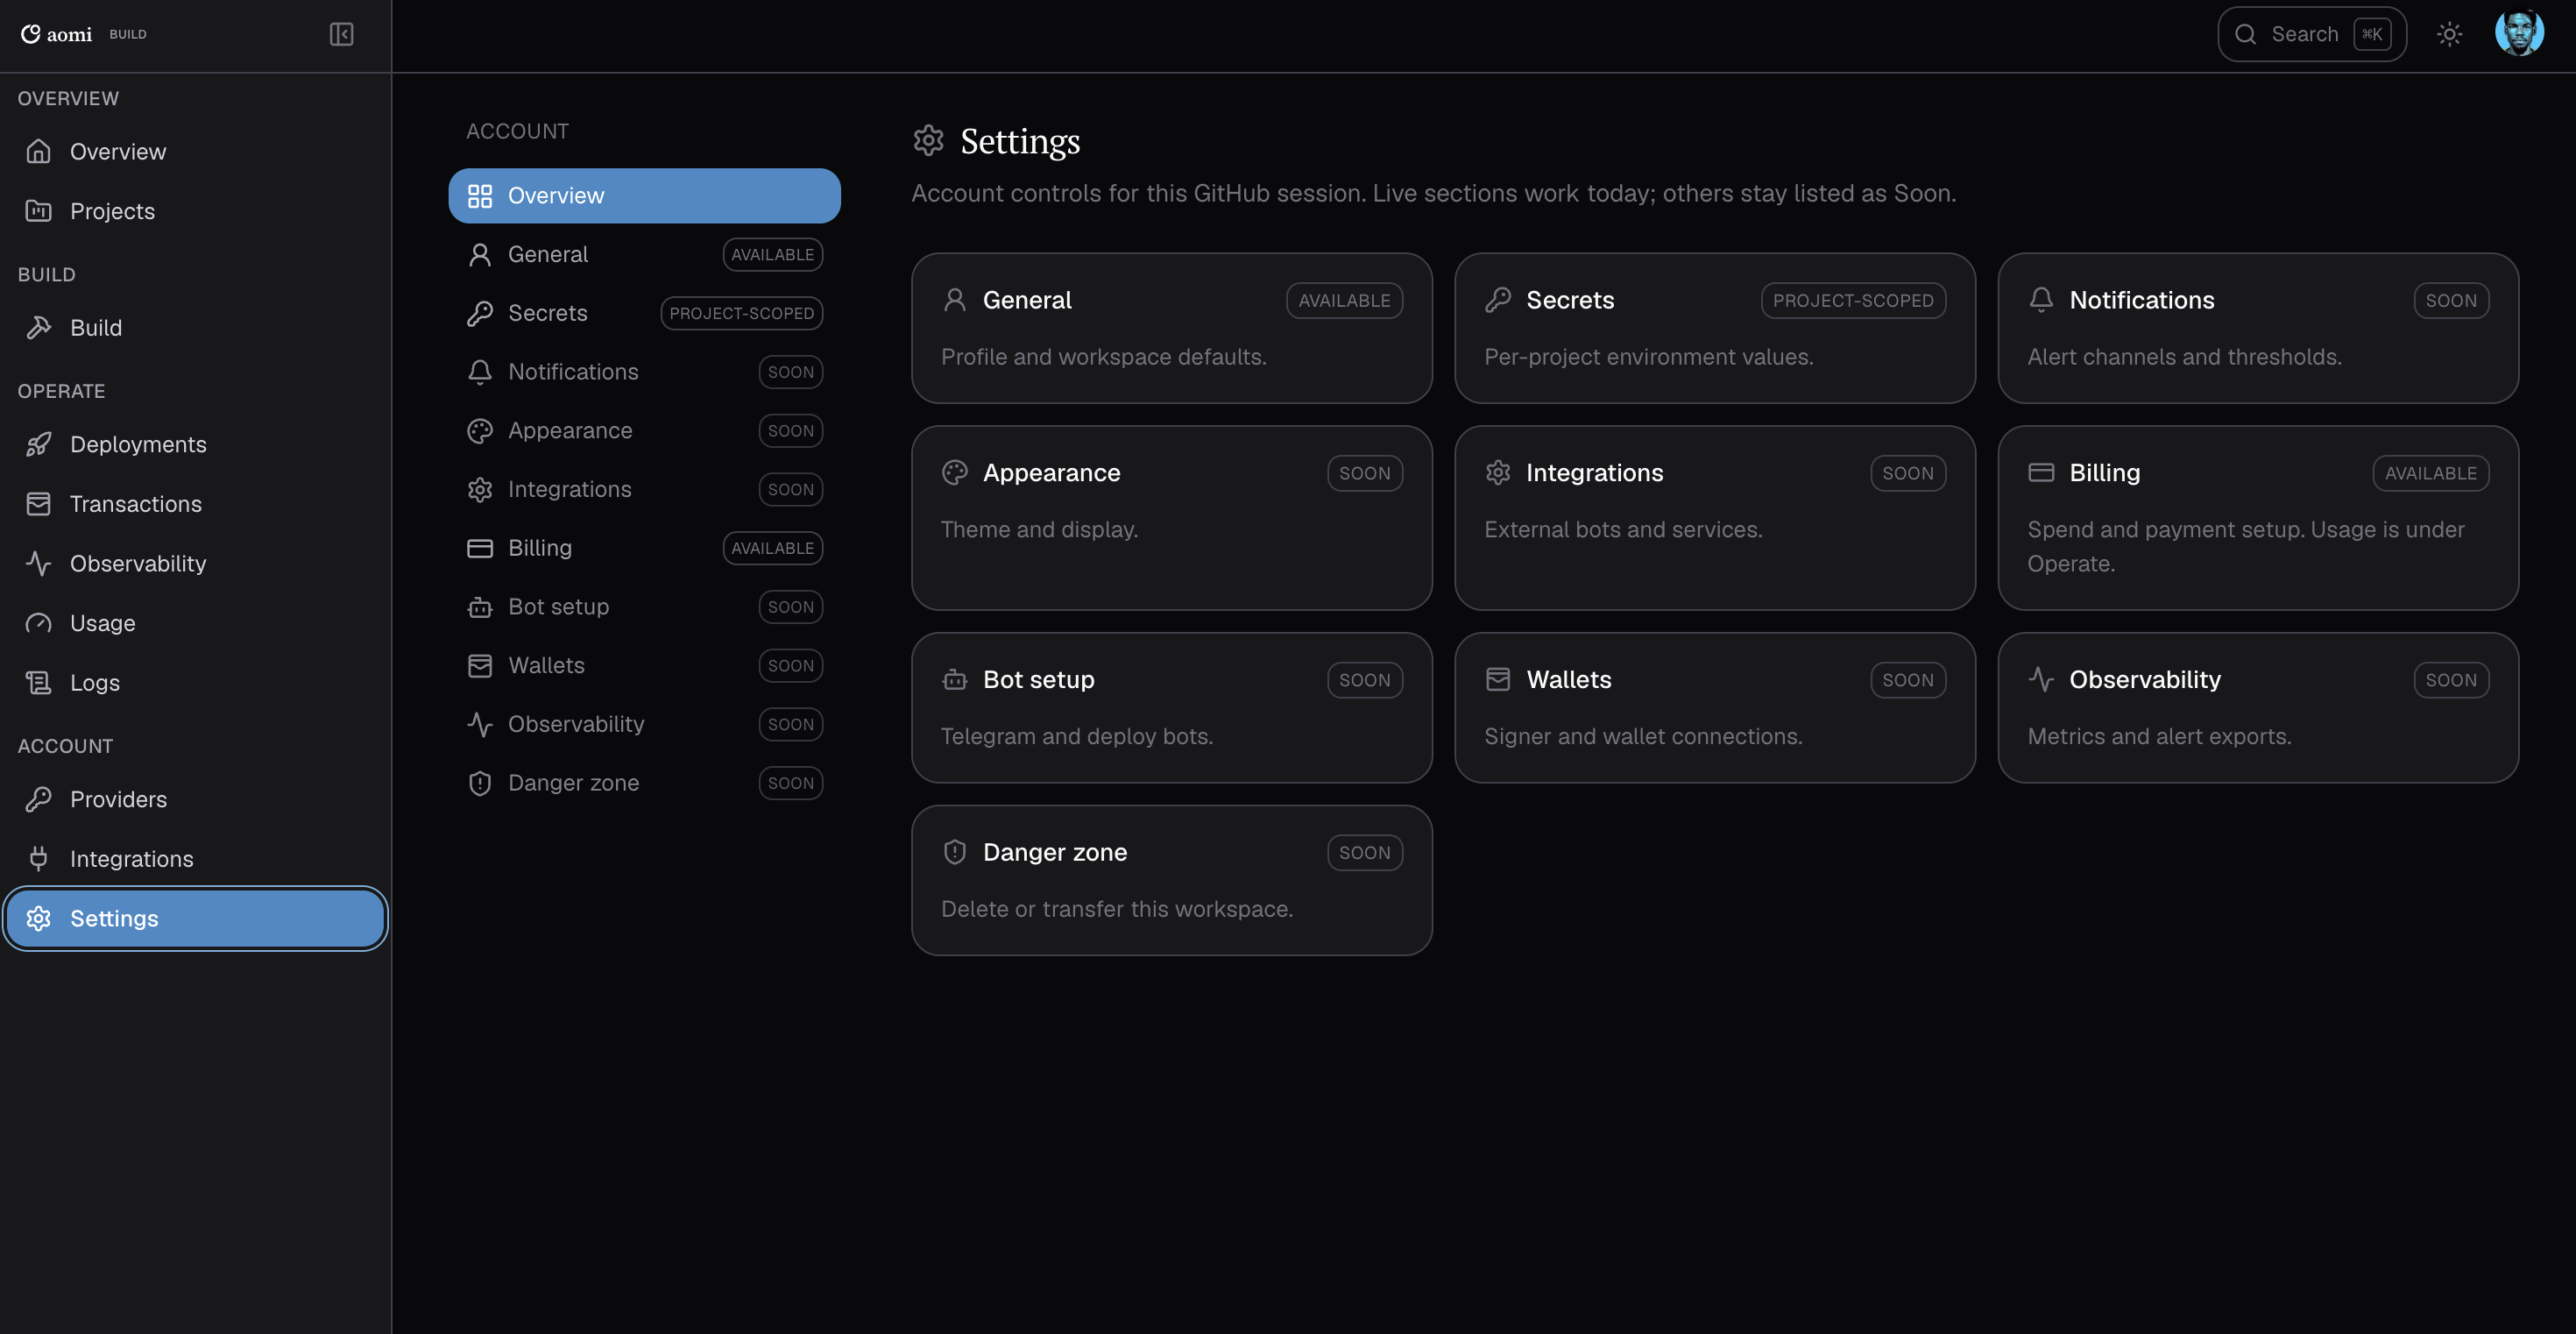
Use availability badges to distinguish working settings from upcoming controls.
Web or CLI?
Both drive the same lifecycle. Pick by task:aomi-build opens
build.aomi.dev in your browser, you authorize once, and the deploy continues
in your terminal.
Next
Deploy and activate on aomi CLI
Telegram
Aomi App
aomi.toml.